I’m often required to evaluate simple take home projects from candidates applying to front-end developer positions at our company. In these projects candidates are asked to implement a few UI components that take user input and produce an output, nothing fancy, but enough to get a grasp on the candidate’s familiarity with modern front-end frameworks and to ask follow up questions about his design decisions in the interview that follows.
It’s open to the candidate to choose the front-end framework that he/she is most comfortable with (eg: React, Angular, Vue) for this exercise, and we also ask him to share his solution in a GitHub repository as to facilitate the reviewing process.
So after reviewing a few dozens of these projects I started using a simple sandboxing approach that I’m sharing in this article in order to quickly an easily build and run these apps and assess them in a controlled manner.
Sandboxing requirements
In short, these were the implicit system requirements I took into account:
- The reviewer (myself!) shall be able to spin up the front-end app with a single command
- The system shall provide access to app compilation/runtime errors in case of failure
- The system shall isolate the untrusted front-end app execution for security reasons
- The system shall support different front-end development environments/configurations
Implementation
The solution was implemented with Docker and is available on GitHub: GitRunner (not a very creative name, I know 🙈). It provides a few Docker images for building and running front-end projects from GitHub, and here’s how it works:
1) First, build the base Alpine Linux image:
cd /images/alpine-git-node
docker build . -t alpine-git-node
2) Then, build the target platform image, for instance:
cd /images/alpine-git-npm
docker build . -t alpine-git-npm
3) Finally execute this docker command pointing to the target GitHub repository:
docker run -d \
 -e GIT_REPO_URL="https://github.com/gothinkster/react-redux-realworld-example-app" \
 -e COMMAND="npm install && npm start" \
 -p 4100:4100 \
 --name sandbox alpine-git-npm
4) And optionally attach to the command screen within the container to see the terminal output:
docker exec -it <CONTAINER_ID> sh
# screen -r
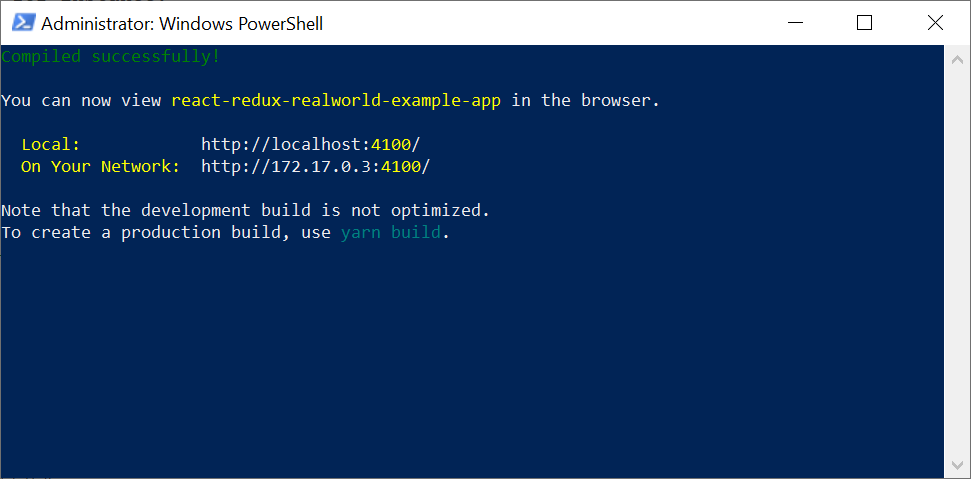
(In order to leave the secondary screen back to the container primary shell, type CTRL + A + D.)
Overview
The first two steps for building the target platform Docker image will only need to be executed once per configuration. Every once in a while it may be required to build a new image due to framework updates, for supporting a new configuration.
The third step is the actual “single command” that spins up the front-end app, and receives two custom variables:
- GIT_REPO_URL: Url of the GitHub repository containing the front-end app source code
- COMMAND: The front-end app startup command, typically bringing up a development web server
These variables are fed into a simple docker-entrypoint.sh script for cloning the repository and then running the startup command in a secondary screen:
#!/bin/bash
set -e

git clone $GIT_REPO_URL repo
cd repo

screen -dmS daemon sh -c "$COMMAND" >> logfile.log

sleep infinity
The secondary terminal screen is adopted for running the startup command because development web servers are typically terminated if the compilation fails, or the app crashes, which would bring the container down were they run as the container’s main process.
At the end of the entry point script there’s an unconventional sleep infinity command. This way, if the startup command fails, it holds the container up, allowing us to start an iterative bash session within the container to rerun the startup command and assess errors.
Lastly, proper isolation is only achieved when executing this container in a separate virtual machine, since container solutions don’t guarantee to provide complete isolation. According to the Docker documentation1:
One primary risk with running Docker containers is that the default set of capabilities and mounts given to a container may provide incomplete isolation, either independently, or when used in combination with kernel vulnerabilities.
That’s it! After assessing the front-end app the container can be stopped and removed for disposing allocated resources. I’ve been successfully using this straightforward approach regularly, and it’s been saving me some time and effort. I hope this comes useful to you as well.
Sources
[1] Docker security. Retrieved 2020-05-16.